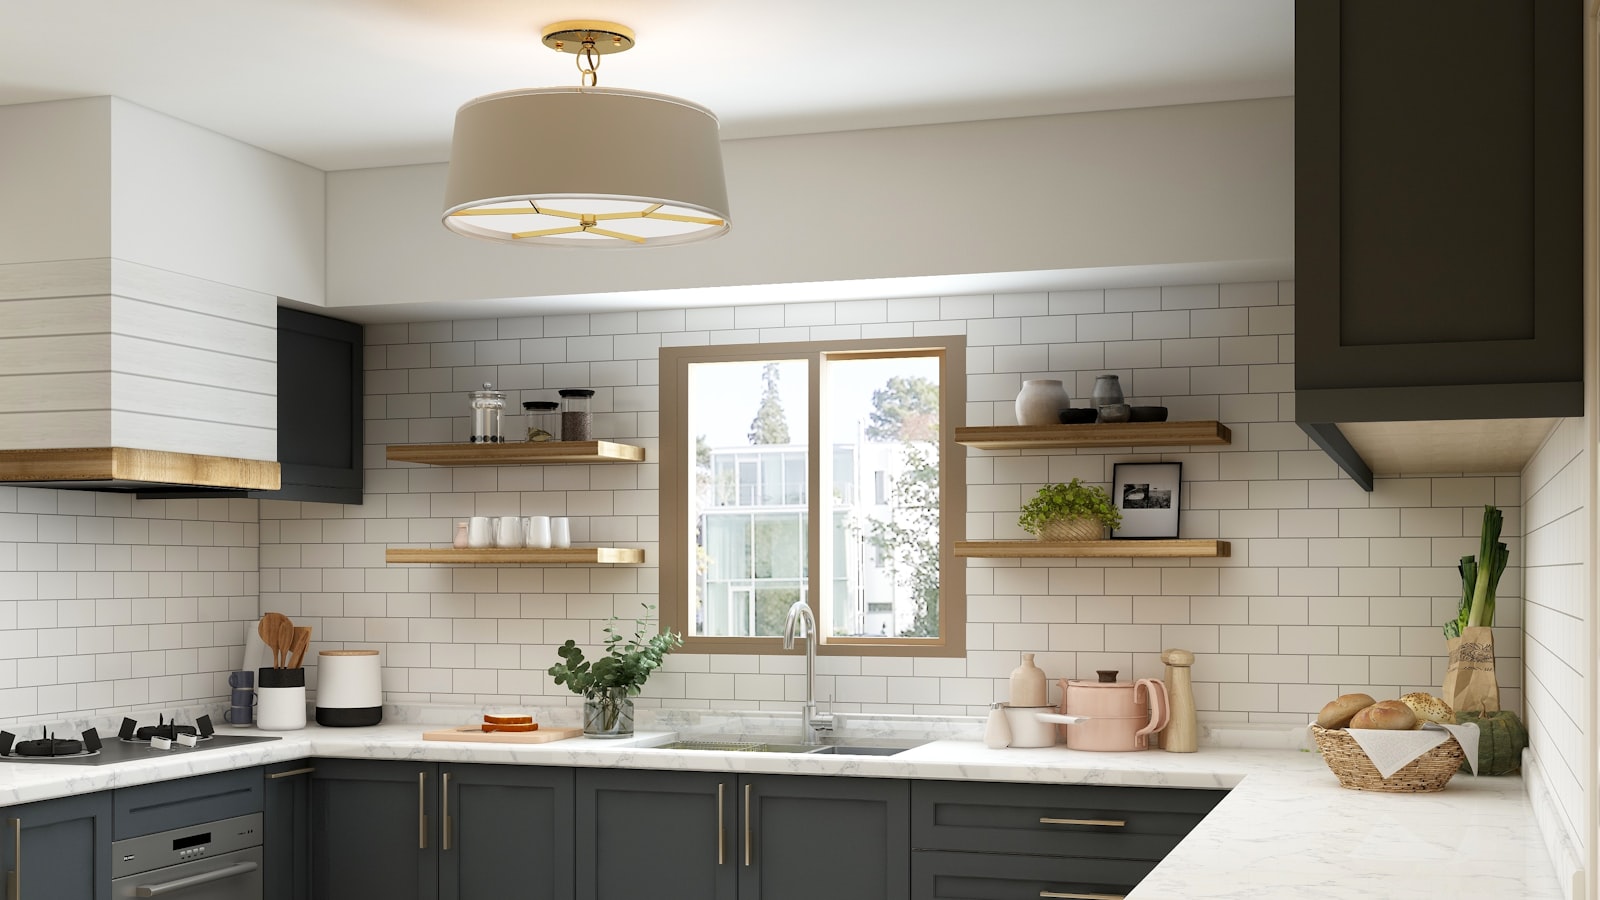
Peel-and-stick backsplash is one of the friendliest upgrades in home improvement. It gives you the look of tile — the pattern, the finish, the instant lift above a counter — without mixing mortar, spreading grout, or owning a tile saw. For a rented kitchen or a quick refresh, it's hard to beat for effort spent.
It is not, however, quite as effortless as the name suggests. The panels are easy to stick down, but sticking them down straight, clean, and lasting takes a bit of care. Get the prep and the first row right, and the rest goes up beautifully. Rush those, and you'll see every crooked seam for years.
Understand what you're working with#
Peel-and-stick backsplash usually comes as flexible sheets or tiles with a strong self-adhesive backing. You cut them to fit, peel off the film, and press them onto the wall. There's no drying time to wait through and no special tools, which is why it's such a popular weekend job.
The catch is that the whole system depends on that adhesive gripping properly, and adhesive is fussy about what it sticks to. It loves a clean, smooth, dry surface and struggles with grease, dust, damp, or a bumpy texture. Kitchens, of all rooms, are full of exactly the grease and moisture that adhesive hates, so the prep work matters more here than almost anywhere.
It's also worth being realistic about where it works well. Peel-and-stick handles the splash zone behind a counter nicely, but areas that get constantly wet or very hot — right at the sink or immediately behind a cooktop — are harder on it. Check the product's guidance for heat and moisture before you commit to those spots.
Prepare the surface properly#
Start by clearing the counter and giving yourself room to work. Then clean the wall thoroughly, because this single step decides whether your backsplash is still up in a year. Degrease the whole area with a suitable cleaner, getting into the film of cooking residue that builds up invisibly above a stove, then wipe it down and let it dry completely. Adhesive will not bond through grease, full stop.
Next, check the surface itself. Peel-and-stick needs a smooth base, so glossy paint may need a light sand to give it grip, and any flaking or loose paint should be sorted first. If the wall is freshly painted, let it cure fully before sticking anything to it — the same patience you'd give the walls after painting a room applies here, because adhesive pressed onto soft new paint can pull it straight off.
Do a small stick-and-peel test in a corner before you commit the whole kitchen. Press a scrap down, leave it a while, then lift it. If it grips firmly, you're ready. If it slides or lifts easily, your surface needs more cleaning or prep.
Fill any deep dents or gaps so the finished surface reads flat, and give everything one last wipe. A clean, dry, smooth wall is the entire foundation of this project.
Plan your layout before you peel#
Here's the part beginners skip and regret: kitchens are rarely square. Counters slope slightly, cabinets sit a touch off-level, and if you line your first row up with the counter, any tilt gets multiplied all the way up the wall. So don't trust the counter — trust a level.
Measure and lightly mark a level horizontal line as your true starting reference. Dry-lay a row of tiles along it without peeling the backing, so you can see how the pattern falls and where you'll need to cut. Aim to avoid a sliver of tile at a prominent edge; shifting your starting point sideways can turn an awkward thin strip into a balanced, even look.
Think about the focal points too. The run of wall you see most — often the stretch behind the counter at eye level — is where you want full, uncut tiles and neat pattern matching. Push the fiddly cut pieces toward the edges and corners where they draw less attention.
Cut, stick, and press#
With your layout planned, you're ready to go up. Work in an order that lets you keep everything aligned:
- Start from your level line, not the counter, and set the first tile carefully.
- Peel the backing, position the tile just above where it lands, then press it down from one edge to the other to push out air.
- Overlap or butt the seams exactly as the product instructs, keeping the pattern continuous.
- Smooth each tile firmly with your hand or a soft tool so the whole back bonds.
For cuts around edges, outlets, and windows, measure carefully and cut with a sharp utility knife against a straight edge, replacing the blade when it starts to drag. Measure twice and cut once — you can always trim a little more off, but you can't add it back. Test-fit each cut piece before peeling the backing.
Press everything down well as you go. The bond strengthens with firm, even pressure, so don't just tack tiles up and move on. Run your hand over each one, paying attention to the edges and seams where lifting starts.
Working safely around outlets and the stove#
This is where a fun afternoon project meets real household hazards, so slow down. Kitchen backsplashes run straight through electrical outlets and switches, and you should never work around them with the power on. Turn off the circuit at the consumer unit or breaker panel before you remove any faceplates, and check it's dead before touching anything.
To fit neatly around an outlet, the standard approach is to switch off the power, remove the faceplate, run your backsplash up to the edge of the outlet box, and refit the plate over the top. What you must not do is bury an outlet, cover it over, or start moving or extending the electrical box yourself. Adding depth to a wall can mean the outlet box needs adjusting so it still sits flush and safe, and that is electrician's work. If your backsplash changes the wall thickness around an outlet, or you're at all unsure, stop and call a qualified electrician.
Take care near the cooktop too, keeping flammable offcuts and packaging away from burners, and give the room some ventilation while you work with adhesives. Handle utility knives with the same respect — cut away from your body, and keep your other hand clear of the blade's path.
A peel-and-stick backsplash rewards patience more than skill. Clean the wall like you mean it, start from a level line, cut slowly, and keep the power off around outlets. Do that, and you'll step back from an afternoon's work to a kitchen that looks like it cost far more than it did.