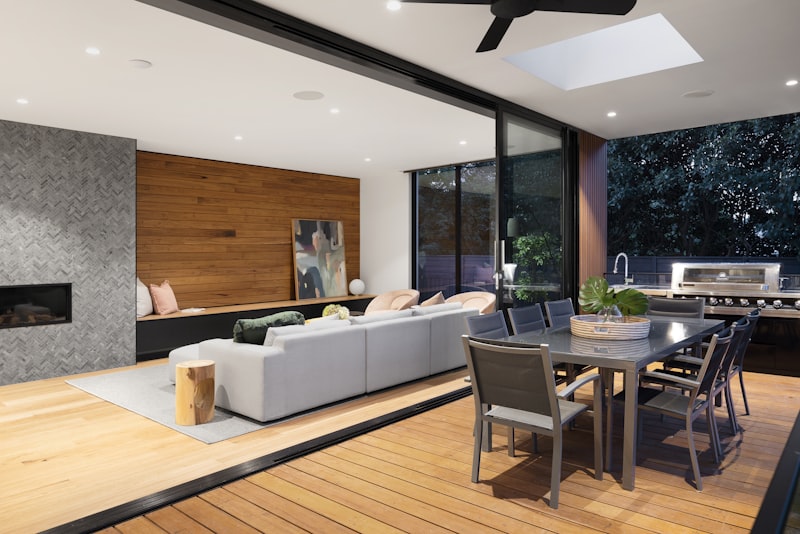
A gallery wall turns a bare stretch of wall into the most personal part of a room. Done well, it looks relaxed and collected over time, as if the pieces simply gathered there. Done in a hurry, it looks like a scattering of crooked frames with a dozen spare holes around them. The difference is almost entirely planning.
The good news is that the planning is the easy, low-risk part, and it happens before you touch a drill. Spend your effort deciding the layout on paper and on the floor, and the actual hanging becomes quick and forgiving. Here's how to get a wall that looks intentional and hangs straight.
Gather your pieces and find a theme#
Start by pulling together everything you might want to hang, and lay it all out on the floor. This is your collection to play with — framed prints, photos, a small mirror, maybe a three-dimensional object or two. Seeing them together tells you far more than imagining them ever could.
Look for a thread that ties them together, because a gallery wall needs some sense of unity or it just reads as clutter. That thread can be anything: a shared frame colour, a consistent mat border, a colour palette across the images, or a single subject like family photos or botanical prints. You don't need everything to match, but you want the eye to feel there's a reason these pieces live together.
Then embrace some variety within that theme. A mix of frame sizes and orientations, portrait and landscape, large anchors and small accents, gives the arrangement life and rhythm. A wall of identical frames in a perfect grid is a valid, tidy look; a relaxed mix of sizes is a warmer one. Decide which feeling you're after early, because it shapes everything that follows.
Plan the layout without drilling#
Now design the arrangement before a single hole goes in the wall. The floor is your sketchpad: shuffle the frames around on the ground until the composition feels balanced, keeping the gaps between frames fairly even so the group reads as one shape rather than random islands. A common approach is to place your largest piece slightly off-centre as an anchor, then build the smaller pieces around it.
Once you're happy, transfer the plan to the wall the smart way — with paper. Trace each frame onto paper, cut out the shapes, and tape them up in your arrangement with low-tack tape. This lets you judge the real thing at real size, step back, live with it for a bit, and nudge pieces around freely without committing to anything.
Mark the exact hanging point on each paper template, not just the frame's outline. Measure where the hook or wire sits on the back of each frame and note that spot on its template, so when you drill through the paper, the fixing lands in precisely the right place. This one habit does more than anything else to make frames hang where you pictured them.
Think about the height of the whole group too. As a general guide, arrangements tend to look right when the centre of the composition sits around eye level, and when the group relates to the furniture beneath it rather than floating too high above a sofa or console. If you've recently finished painting a room, this is the reward — planning the art the room was waiting for.
Choose the right fixings#
Matching the fixing to the job is what keeps your art on the wall and off the floor. Two things decide what you need: how heavy the frame is, and what your wall is made of.
- Light frames on a solid wall often need nothing more than a picture hook and pin.
- Heavier frames need fixings rated for the weight — wall plugs and screws, or dedicated heavy-duty picture fixings.
- Plasterboard walls need proper plasterboard anchors unless you can hit a stud, because a screw driven straight into a hollow plasterboard wall will pull out under load.
- Mirrors and large glass pieces are heavy and deserve extra-secure, weight-rated fixings and a very careful hand.
If you can, hang heavier pieces where their fixing lands in a stud, using a stud finder to locate solid framing — it's the strongest hold you can get, and the same anchoring logic that matters when building a floating shelf applies to a heavy frame. Always check the weight the frame's own hanging hardware and your chosen fixing are rated for, and don't guess with anything heavy over a sofa where people sit.
Hang it and step back#
With your paper templates marking every spot, hanging goes quickly. Work through them one at a time:
- Drill or tap your fixing straight through the marked point on the paper template.
- Tear the paper away once the fixing is in.
- Hang the frame and check it with a small spirit level.
- Move to the next piece, keeping your gaps consistent as you go.
Level each frame as you hang it, and expect to make small adjustments — that's normal, not a sign you got it wrong. Little adhesive bumpers on the bottom corners of each frame stop them drifting crooked over time and protect the wall, which is a small touch that keeps the whole wall looking sharp for years.
When the last frame is up, step well back and look at the whole thing from across the room and from the doorway. A gallery wall is meant to be seen as one composition, and a piece that looked fine up close might want nudging when you take in the group. Trust that overview, make your final tweaks, and then leave it alone.
Hanging safely and when to get help#
Even a light project like this involves drilling into walls, and walls hide things you don't want to hit. Before you drill anywhere, check for concealed wiring and pipes — cables often run vertically above and below sockets and switches, so avoid drilling directly in line with them, and a combined stud-and-cable detector is a cheap way to buy peace of mind. If you ever drill and strike wiring or a pipe, stop at once and call a qualified electrician or plumber before doing anything else.
Mind the ordinary hazards too. If part of your arrangement sits high, use a stable step or ladder on firm, level ground rather than stretching off a chair, and never overreach. Handle framed glass carefully, especially larger pieces, and get a second pair of hands for anything big, heavy, or awkward — one person to hold and one to fix is far safer than wrestling a heavy mirror alone.
Some pieces are worth handing to a professional outright: very heavy mirrors, large statement art, or anything going onto crumbly old plaster or a wall you can't identify. For the everyday mix of frames and prints, though, a gallery wall is a genuinely enjoyable weekend project. Plan it on paper, fix it properly, and check what's behind the wall, and you'll end up with the corner of the room that everyone comments on.