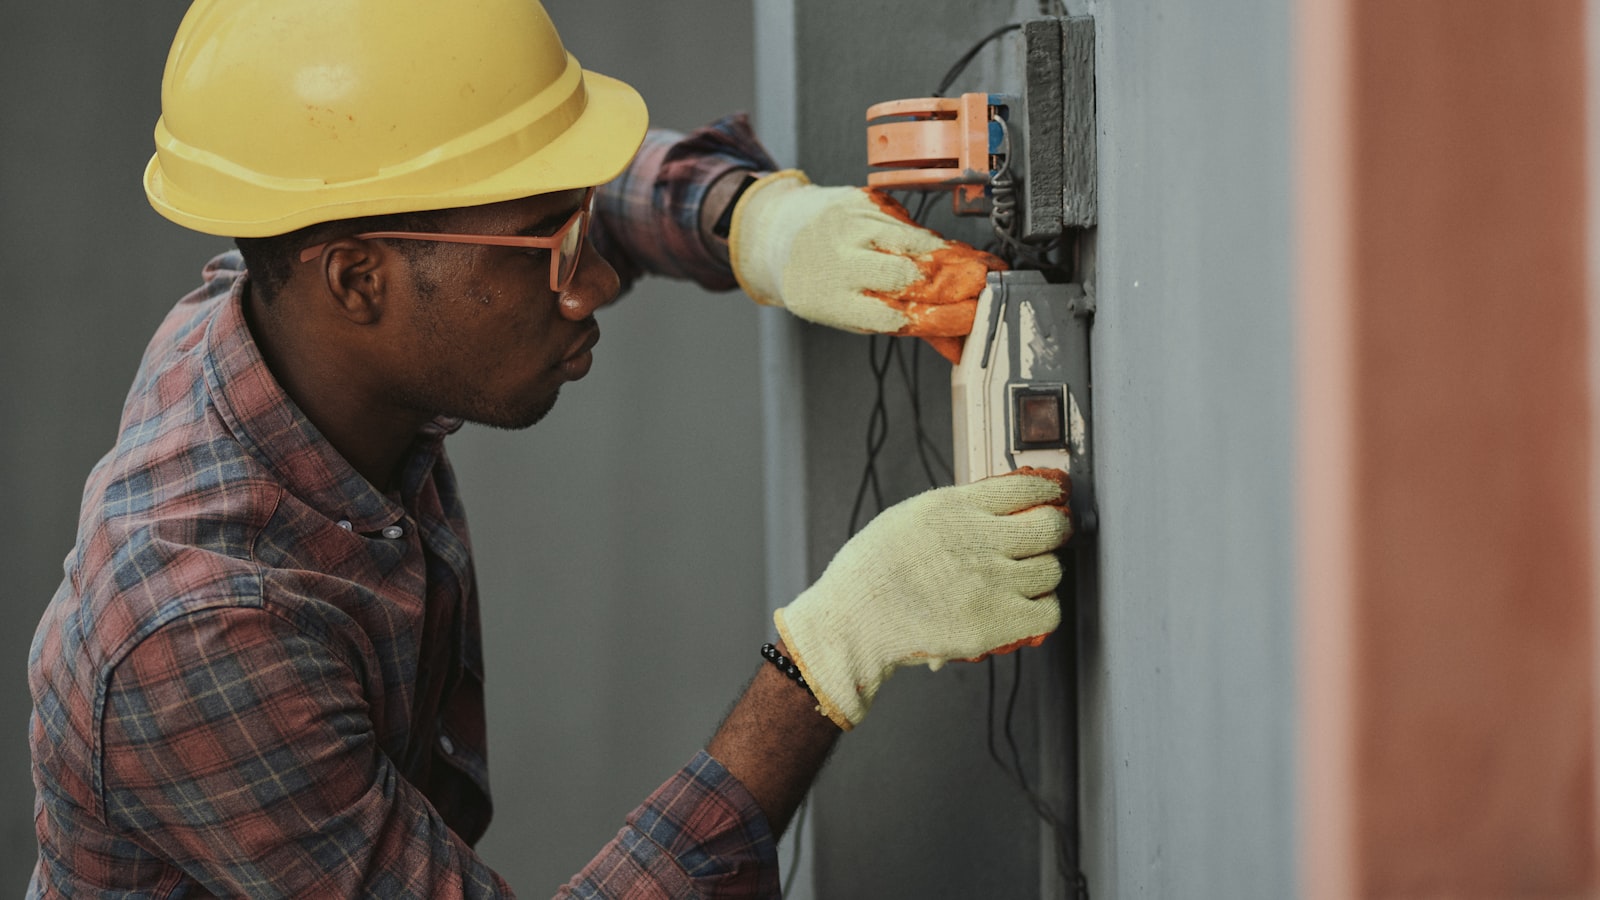
A dripping faucet is one of those small annoyances that grows on you in the worst way. First you barely notice it. Then you hear it at night. Then you're lying awake counting the drops and thinking about the water going straight down the drain. The reassuring truth is that most faucet leaks come from a single worn part, and swapping it out is a genuinely doable repair that costs a few coins and an hour of your Saturday.
I fix these constantly, and the pattern almost never changes. A washer hardens, an O-ring flattens, a cartridge wears, and water finds its way past the seal it used to hold. This guide covers how to stop the drip yourself, step by step, with the safety habits that keep a small job from turning into a wet floor.
Find out what kind of faucet you have#
Faucets come in a few families, and knowing yours points you at the right fix. The oldest and simplest are compression faucets, with separate hot and cold handles that you screw down tight to stop the flow. These almost always leak because of a worn rubber washer inside.
Newer single-handle faucets usually fall into three types: ball, cartridge, and ceramic disc. You don't need to be an expert to tell them apart, but it helps to know the category before you buy a repair kit, because the internal part you're replacing is specific to the design. A quick look at the brand and model, often stamped somewhere on the body, lets you match the right kit at the hardware store.
- Compression faucets have two handles and rely on a rubber washer.
- Cartridge faucets use a replaceable cartridge that lifts and turns.
- Ball and disc faucets use internal seals or a ceramic disc pack.
If you can identify the type before you start, the rest of the job is mostly patience and keeping track of small parts.
Shut off the water and prepare your work area#
This is the step people skip, and it's the one that turns a tidy repair into a soaking. Under the sink you'll usually find two small shut-off valves, one for hot and one for cold. Turn them clockwise until they stop. If there aren't any, or they're seized, shut off the main water supply to the house instead.
Once the valves are closed, open the faucet to release any pressure and let the last of the water drain out. Then plug the drain with a stopper or a rag. Faucets are full of tiny screws and clips, and the moment one drops it will find the plughole with uncanny accuracy. Blocking the drain first saves a lot of frustration.
Lay an old towel across the bottom of the cabinet and a second one on the counter. You'll rest parts on it, catch drips, and give yourself a clean surface to line everything up in the order it came apart.
Good light helps more than you'd think. A head torch or a lamp aimed into the sink lets you see the small parts clearly, which matters when you're trying to spot a cracked O-ring the size of a grain of rice.
Take the faucet apart and find the worn part#
With the water off, you can open the faucet up. Most handles are held by a single screw, sometimes hidden under a small decorative cap that pops off with a flathead screwdriver. Remove the handle, and beneath it you'll find the working parts: a packing nut, a stem or cartridge, and the seals that do the actual sealing.
Work slowly and lay each piece down in the exact order you remove it, in a line, the same way you'd want to put it back. I cannot overstate how much this one habit helps. Reassembly becomes a simple matter of running the line backward, and you'll never be left holding a mystery washer at the end.
As you go, inspect each seal. A washer that's meant to be soft and springy but has gone hard, cracked, or grooved is your culprit. An O-ring that's flattened or split lets water seep past. On a cartridge faucet, the whole cartridge is usually replaced as a unit. Take the old part with you to the store to match it exactly, because a washer that's even slightly the wrong size won't seal.
Replace the part and reassemble#
With the new washer, O-ring, or cartridge in hand, the repair is mostly a reversal of taking it apart. Fit the new seal in place of the old one, seating it fully so it sits flat and even. A smear of plumber's grease on O-rings helps them slide into place and last longer. Then rebuild the faucet in reverse order, following your neat line of parts, and tighten each fitting snugly.
Snug is the word to remember, not brutal. Overtightening a packing nut or handle screw can crack a fitting or crush a new washer, which puts you right back where you started. Hand-tight plus a small turn with the wrench is usually enough.
When it's back together, open the shut-off valves slowly and let the water come back gradually rather than all at once. Then run the faucet and watch. Check for drips from the spout when it's off and for any weeping around the base or handle. Give it a few minutes, because a slow leak takes a moment to show. If it's dry, you're done, and that steady quiet is a small victory.
Handle the leaks that aren't yours to fix#
Most faucet leaks are firmly within reach of a confident beginner. A few are not, and part of doing this safely is knowing the difference. If water is coming from inside the wall behind the faucet, from a supply line you can't isolate, or from a valve that won't shut off no matter how you turn it, that's the point to call a licensed plumber. Anything involving pipes hidden in walls or under floors is their territory, not a weekend job, because a mistake there can flood a room before you notice.
The same is true if you shut off the valves and water keeps flowing, or if the shut-offs themselves leak when you close them. That means the isolation isn't working, and you don't want to open a faucet up with live pressure behind it. Turn off the main supply and get a professional in.
For everything else, this is one of the most satisfying repairs to have in your back pocket. Once you're comfortable here, the same calm, water-off-first approach carries over to related jobs like fixing a running toilet or clearing a slow drain the safe way. Master the drip, and you've quietly stopped paying for water you never use, one washer at a time.